最近のGNOMEは、デフォルトでAlt+Tabで「アプリケーションを切り替える」が動作するようになっています。
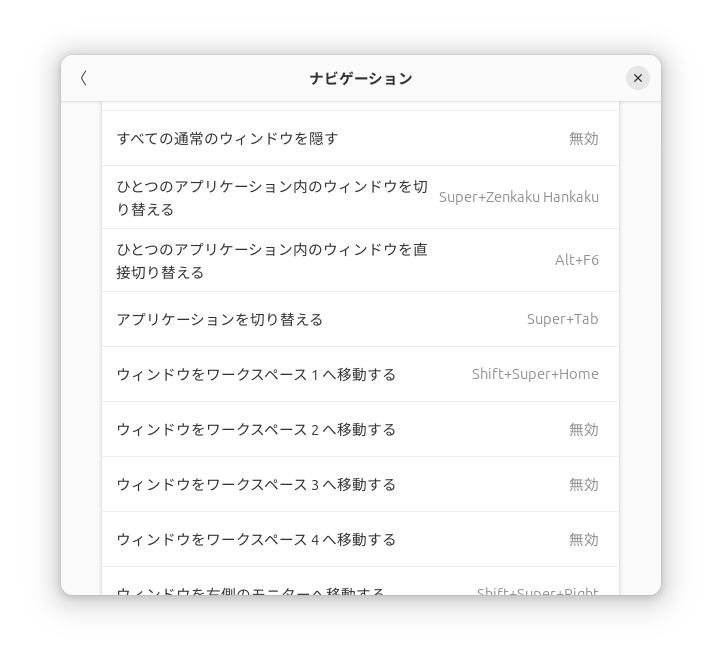
「設定」からキーボード → キーボードショートカット → ショートカットの表示と設定 → ナビゲーションの中にあります。
これ、個人的にはちょっと困っています。同じ種類のアプリケーションがまとめられてしまうので、その点がちょっと
扱いにくいと思ってしまいます。
ウィンドウ単位に切り替えられるようにするには、「ウィンドウを切り替える」にAlt+Tabを割り当てます。
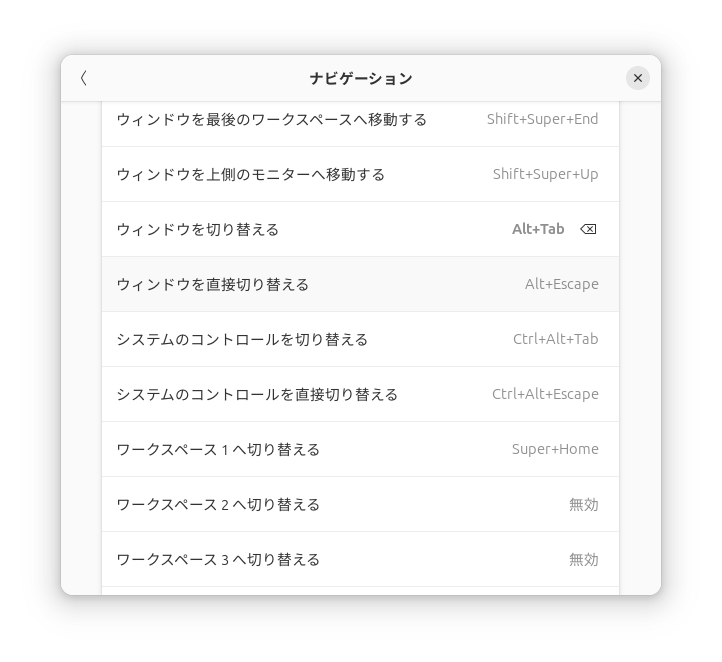
場所は、同じくキーボード → キーボードショートカット → ショートカットの表示と設定 → ナビゲーションの中にあります。