これは、なにをしたくて書いたもの?
ElasticsearchやKibanaをインストールする際に、Elastic LicenseのものとApache 2 Licenseのものでインストール方法が異なることに
気づいていなかったので、メモとして。
よくよく見ると、ダウンロードページから異なるんですね。
Download Elasticsearch
Download Elasticsearch - OSS Only
Kibana、Logstash、Beatsも同様です。
6.3.0から、こういう形態になっているんでしょうかね?


今回、ElasticsearchとKibanaの2つをApache 2 Licenseのもので、かつaptでインストールしてみたいと思います。
環境
今回の環境は、こちらです。
$ lsb_release -a
No LSB modules are available.
Distributor ID: Ubuntu
Description:    Ubuntu 18.04.3 LTS
Release:    18.04
Codename:   bionic


$ java --version
openjdk 11.0.4 2019-07-16
OpenJDK Runtime Environment (build 11.0.4+11-post-Ubuntu-1ubuntu218.04.3)
OpenJDK 64-Bit Server VM (build 11.0.4+11-post-Ubuntu-1ubuntu218.04.3, mixed mode, sharing)
ElasticsearchおよびKibanaは、7.4.2をインストールします。
ドキュメントは、以下を参照。
Install Elasticsearch with Debian Package | Elasticsearch Reference [7.4] | Elastic
Install Kibana with Debian Package | Kibana Guide [7.4] | Elastic
まず、aptリポジトリを追加します。
$ wget -qO - https://artifacts.elastic.co/GPG-KEY-elasticsearch | sudo apt-key add -
$ echo "deb https://artifacts.elastic.co/packages/oss-7.x/apt stable main" | sudo tee -a /etc/
これは、Elasticsearch、Kibanaで(BeatsやLogstashも)同じです。
ポイントは、追加するリポジトリが
https://artifacts.elastic.co/packages/oss-7.x/apt
となっていることで、Elastic Licenseの場合はこちらになります。
https://artifacts.elastic.co/packages/7.x/apt
そして、update。
sudo apt -y update
Elasticsearchのインストール
では、Elasticsearchをインストールします。
$ sudo apt -y install elasticsearch-oss
パッケージ名が、「elasticsearch-oss」と「-oss」が付くところがポイントです。
Elastic Licenseの場合は「elasticsearch」になります。
起動。
$ sudo systemctl daemon-reload
$ sudo systemctl enable elasticsearch
$ sudo systemctl start elasticsearch
停止はこちら。
$ sudo systemctl stop elasticsearch
設定は、こんな感じにしておきました。
$ sudo grep -v '^#' /etc/elasticsearch/elasticsearch.yml
path.data: /var/lib/elasticsearch
path.logs: /var/log/elasticsearch
network.host: 0.0.0.0
discovery.type: "single-node"
Kibanaのインストール
続いて、Kibanaをインストールします。
$ sudo apt -y install kibana-oss
こちらも、「kibana-oss」になります。
起動。
$ sudo systemctl daemon-reload
$ sudo systemctl enable kibana
$ sudo systemctl start kibana
停止はこちら。
$ sudo systemctl stop kibana
設定は、こんな感じに。
$ sudo grep -v '^#' /etc/kibana/kibana.yml

server.host: "0.0.0.0"
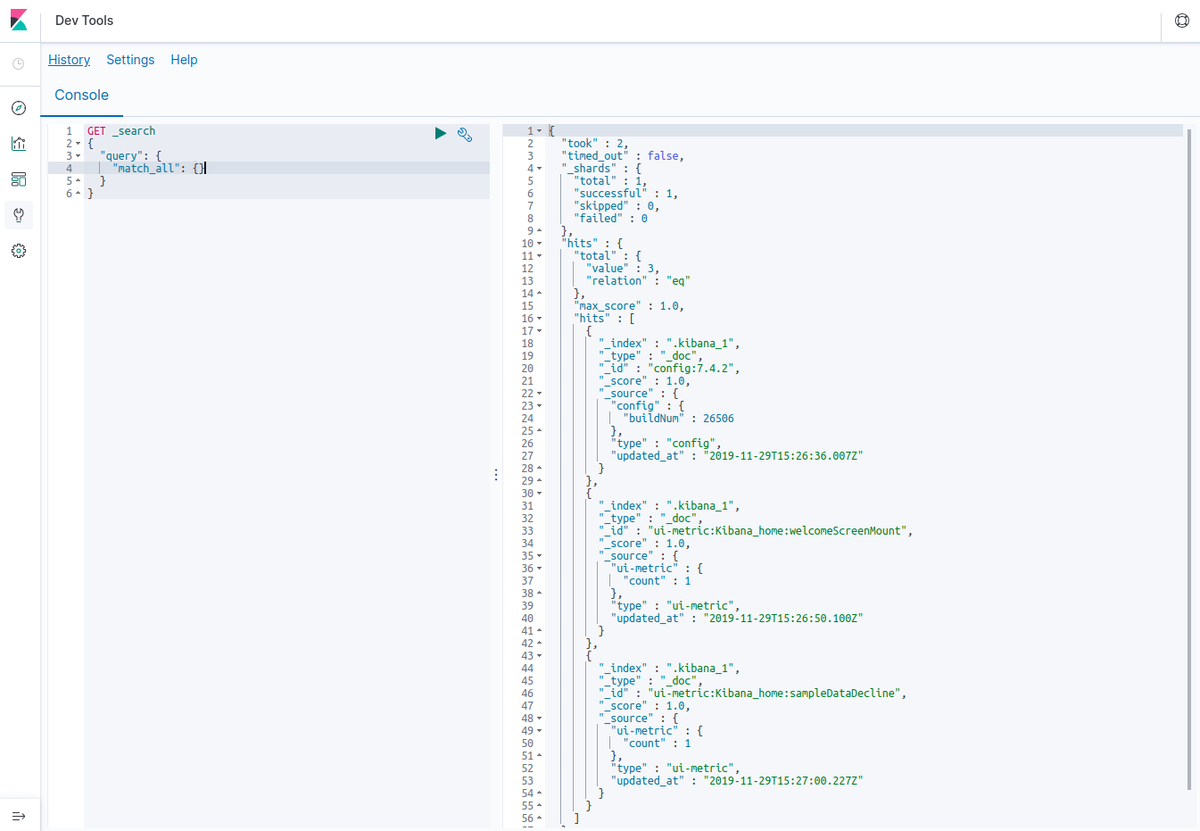
起動した後のKibanaの画面も、一応貼っておきます。

LogstashやBeatsのインストールパッケージは?
参考までに。
LogstashのApache 2 License版のインストールパッケージは、「logstash-oss」でした。
Beatsは、「-oss」prefixのものは見当たらず…?
$ sudo apt search filebeat
Sorting... Done
Full Text Search... Done
filebeat/stable 7.4.2 amd64
  Filebeat sends log files to Logstash or directly to Elasticsearch.
ドキュメントにはApache 2 License向けのリポジトリのことは書いてあったり
Repositories for APT and YUM | Filebeat Reference [7.4] | Elastic
バイナリのダウンロード先は別々だったりするんですけどね。
Download Filebeat
Download Filebeat - OSS Only
と思ってとりあえず「filebeat」でインストールしたら、Apache 2 Licenseのものが入ったようです。
$ grep Apache /usr/share/filebeat/LICENSE.txt
                                 Apache License
   APPENDIX: How to apply the Apache License to your work.
      To apply the Apache License to your work, attach the following
   Licensed under the Apache License, Version 2.0 (the "License");


